Dental CAD Design Quality Checklist
By DA’AT Lab Team
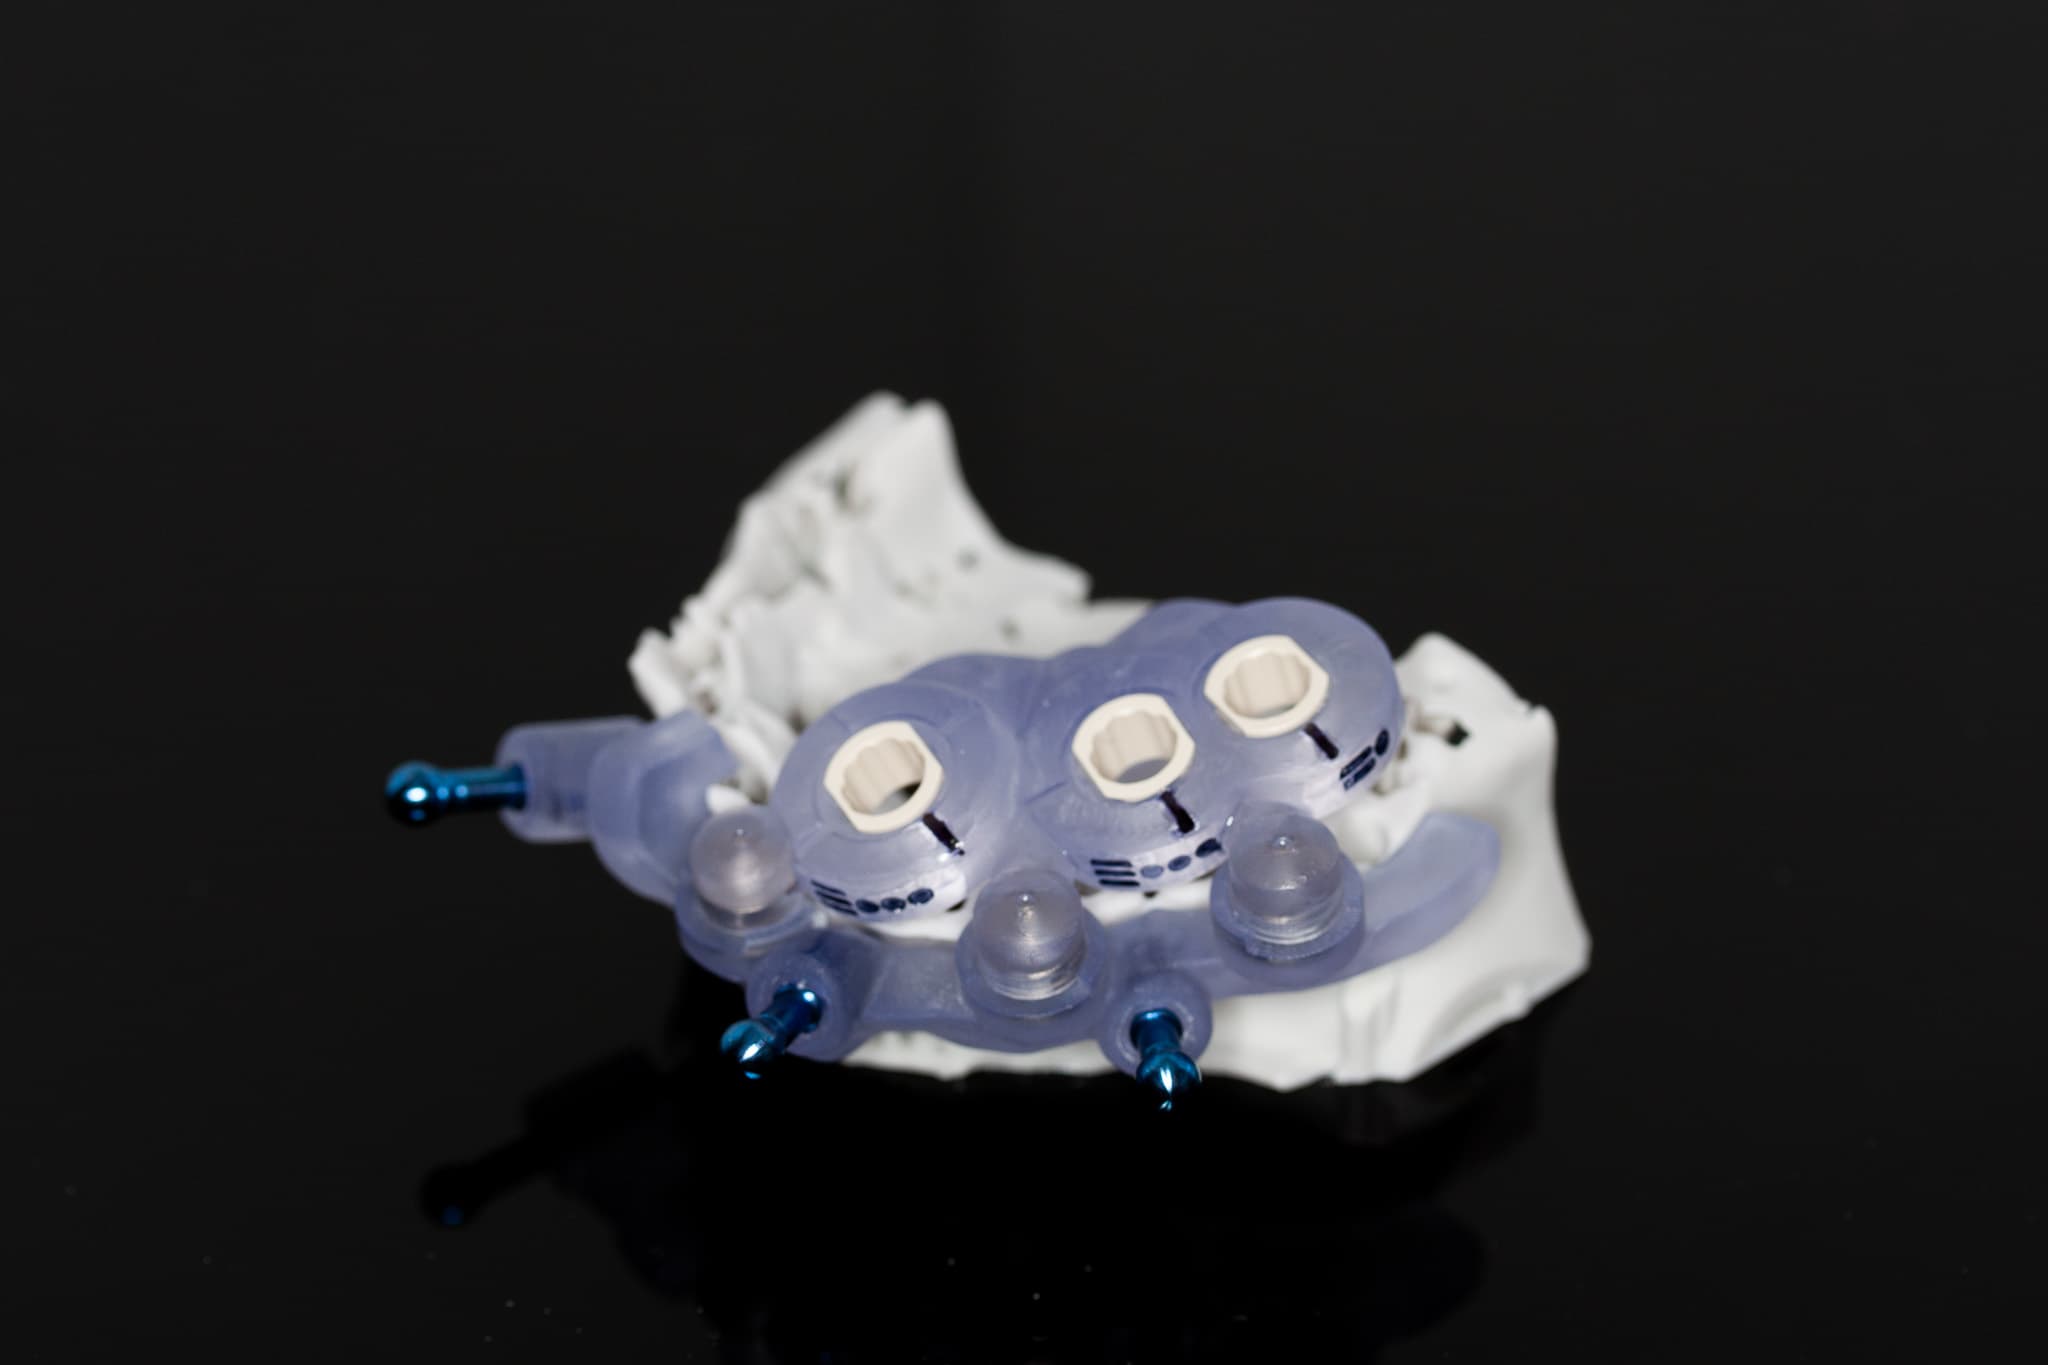
Every lab should be assessing each design with the following guideline to ensure function and esthetics. This checklist covers single crowns, bridges, anterior cases, implant restorations, and full-mouth rehabilitations — split into a design checklist (sections 1–8) and a case-specific review checklist (sections 9–13).
Section A — Design Checklist
Design planning, anatomy, esthetics, contacts, and occlusion.
1. Initial Case Review
- ☐ Case Type and Design Objective. Confirm whether the case is a single unit, bridge, anterior esthetic case, implant restoration, or full-mouth rehabilitation.
- ☐ Prescription and Clinical Instructions. Review all dentist instructions, shade notes, material selection, margin design, occlusal requirements, and special requests before beginning the design.
- ☐ Preparation and Margin Evaluation. Check that the preparation, finish line, insertion path, clearance, and restorative space are suitable for the planned restoration.
- ☐ Opposing and Adjacent Dentition. Evaluate the opposing arch, adjacent teeth, existing wear pattern, occlusion, and available interproximal space.
2. Overall Arch and Case Harmony
- ☐ Overall Arch Form. Confirm that the restorations follow a natural arch form and do not appear too narrow, too wide, collapsed, or over-expanded.
- ☐ Tooth Position and Alignment. Check that each tooth is positioned naturally within the arch and follows the planned restorative arrangement.
- ☐ Symmetry and Balance. Evaluate right-to-left balance, especially in anterior and full-mouth cases. Check tooth size, shape, angulation, and visual harmony.
- ☐ Tooth Proportion. Confirm that tooth width, length, contour, and emergence are appropriate for the case and match the surrounding dentition.
- ☐ Arch Width and Smile Support. Ensure the design provides proper lip and cheek support without over-contouring the buccal surfaces.
3. Smile Design and Esthetic Reference Lines
- ☐ Smile Line Evaluation. Assess the relationship between the incisal edges, gingival margins, upper lip, and visible smile display.
- ☐ Smile Arc. Confirm that the maxillary anterior incisal edges follow a natural smile arc and relate properly to the lower lip curve.
- ☐ Incisal Edge Position. Check anterior tooth length, incisal edge level, phonetic support, esthetics, and relationship to the opposing dentition.
- ☐ Dental Midline. Evaluate the maxillary dental midline in relation to the facial midline, philtrum, nose, and mandibular midline.
- ☐ Midline Inclination / Cant. Confirm that the midline is not tilted. A tilted midline can make the smile appear unbalanced.
- ☐ Gingival Line and Zenith Position. Review gingival margin levels and zenith positions, especially from canine to canine. Confirm natural progression and symmetry.
- ☐ Buccal Corridor. Evaluate the visible space between the posterior teeth and cheeks. Avoid a smile that appears too narrow, collapsed, or overly broad.
4. Occlusal Plane and Functional Reference
- ☐ Occlusal Plane. Evaluate the occlusal plane from frontal, sagittal, and occlusal views. Confirm that it is even, balanced, and appropriate for the case.
- ☐ Occlusal Plane Cant. Check that the occlusal plane is not slanted when viewed from the front, especially in anterior and full-mouth cases.
- ☐ Curve of Spee. Confirm that the anterior–posterior curve of the occlusion is smooth, functional, and not excessively deep or flat.
- ☐ Curve of Wilson. Evaluate the buccal–lingual curve of the posterior teeth and confirm proper posterior cusp relationship.
- ☐ Vertical Dimension and Restorative Space. For full-mouth cases, confirm that the design supports the planned vertical dimension and provides enough material thickness.
- ☐ Anterior Guidance. Check that anterior lingual contours and incisal edges support proper protrusive movement when applicable.
- ☐ Canine Guidance / Group Function. Confirm the intended lateral movement pattern and avoid harmful excursive interferences.
5. Facial / Buccal Anatomy
- ☐ Buccal Contour. Confirm proper facial fullness, emergence profile, and natural contour. Avoid designs that are too bulky or too flat.
- ☐ Line Angle Definition. Evaluate mesial and distal line angles to control tooth shape, width perception, and esthetic harmony.
- ☐ Tooth Axis and Angulation. Check the long-axis direction of each tooth. Ensure the inclination appears natural and consistent with the arch form.
- ☐ Facial Surface Morphology. Review facial anatomy, developmental depressions, convexity, and transition areas for a natural appearance.
- ☐ Cervical Emergence Profile. Ensure the restoration emerges naturally from the margin or tissue area without over-contouring.
6. Lingual / Palatal Anatomy
- ☐ Lingual / Palatal Contour. Check that the lingual or palatal surface supports comfort, speech, function, and proper anterior guidance when needed.
- ☐ Cingulum Form. For anterior teeth, confirm that the cingulum is properly shaped and does not create excessive bulk or interference.
- ☐ Lingual Clearance. Ensure there is proper clearance from the opposing dentition during centric and excursive movements.
- ☐ Tongue Comfort. Confirm that lingual surfaces are smooth, natural, and not over-contoured.
7. Occlusal Anatomy and Function
- ☐ Occlusal Form. Review cusp shape, fossa depth, groove anatomy, marginal ridges, and occlusal table width.
- ☐ Cusp-to-Cusp Relationship. Confirm proper relationship between maxillary and mandibular cusps for stable occlusion.
- ☐ Central Fossa and Functional Anatomy. Ensure fossae, ridges, and grooves are positioned naturally and support the opposing cusp contacts.
- ☐ Occlusal Table Width. Confirm that the occlusal table is not too wide or too narrow for the tooth position and function.
- ☐ Bite Contact Points. Verify that centric contacts are stable, evenly distributed, and not excessively heavy.
- ☐ Excursive Contacts. Check protrusive and lateral movements to avoid unwanted interferences, especially on bridges and full-mouth cases.
- ☐ Material Thickness in Functional Areas. Confirm that occlusal and incisal areas have sufficient thickness for the selected restorative material.
8. Marginal Ridges, Contacts, and Embrasures
- ☐ Marginal Ridge Alignment. Ensure marginal ridges are properly positioned and aligned with adjacent teeth.
- ☐ Interproximal Contact Position. Confirm that contacts are located correctly based on tooth type, arch position, and adjacent anatomy.
- ☐ Interproximal Contact Broadness. Check that contacts are broad enough for stability but not overly wide or bulky.
- ☐ Contact Strength. Ensure contacts are not too light, open, or excessively tight.
- ☐ Gingival Embrasure. Confirm proper gingival embrasure shape to support tissue health, cleanability, and natural papilla form.
- ☐ Incisal / Occlusal Embrasure. Evaluate embrasure size and progression. Anterior embrasures should show natural progression from central incisors to canines.
- ☐ Food Trap Prevention. Check that contact areas, embrasures, and marginal ridge transitions do not create food traps.
Section B — Review Checklist
Case-specific review, final quality control, and production approval.
9. Bridge-Specific Design Review
- ☐ Pontic Design. Confirm that the pontic shape is appropriate for the tissue condition, esthetic demand, and hygiene access.
- ☐ Pontic Tissue Contact. Ensure tissue contact is smooth, passive, and not over-compressive.
- ☐ Connector Size and Shape. Check that connectors have sufficient height, width, and thickness for the selected material.
- ☐ Connector Transition. Confirm that the transition between retainers, connectors, and pontics is smooth and natural.
- ☐ Bridge Path of Insertion. Verify proper insertion path and avoid undercuts that may prevent seating.
- ☐ Hygiene Access. Ensure the patient can clean around pontics, connectors, and gingival embrasures.
10. Implant Restoration Review
- ☐ Emergence Profile. Confirm that the restoration emerges naturally from the implant platform or tissue contour.
- ☐ Screw Access Position. For screw-retained restorations, check that the screw access channel is in an acceptable esthetic and functional position.
- ☐ Tissue Support. Ensure the crown supports soft tissue properly without excessive pressure.
- ☐ Contact and Occlusion. Verify proper proximal contacts and controlled occlusion, especially for implant restorations.
- ☐ Crown–Abutment Transition. Check that the transition between crown, abutment, and margin is smooth and cleanable.
11. Single-Unit Final Review
- ☐ Blend with Adjacent Teeth. Confirm the crown matches adjacent teeth in contour, height, width, emergence, and anatomy.
- ☐ Contact with Adjacent Teeth. Check contact position, strength, and broadness.
- ☐ Occlusal Contact. Ensure the crown has stable but not excessive occlusal contact.
- ☐ Margin and Fit Review. Confirm clean margin adaptation and proper restorative thickness.
12. Full-Mouth Case Review
- ☐ Full-Arch Harmony. Confirm that the full arch appears balanced in tooth position, arch form, symmetry, and occlusal flow.
- ☐ Upper and Lower Arch Relationship. Evaluate how both arches relate in centric occlusion, lateral movements, and protrusive movement.
- ☐ Occlusal Plane Consistency. Check that the occlusal plane is consistent and harmonious across the full arch.
- ☐ Anterior–Posterior Balance. Confirm that anterior guidance and posterior support are coordinated properly.
- ☐ Vertical Dimension Consistency. Ensure the design follows the planned vertical dimension and does not create uneven bite opening.
- ☐ Smile and Facial Harmony. Review the case from the facial view, smile view, lateral view, and occlusal view before finalizing.
13. Final Production Review
- ☐ Margin Integrity. Inspect all margins for smoothness, proper adaptation, and clean finish line design.
- ☐ Minimum Material Thickness. Confirm the restoration meets minimum thickness requirements for the selected material.
- ☐ Surface Smoothness. Check for rough surfaces, sharp edges, irregular anatomy, or unnecessary over-contouring.
- ☐ Milling / Printing Readiness. Confirm there are no design issues that may cause milling, printing, sintering, or finishing problems.
- ☐ Final Anatomy Check. Review all line angles, ridges, grooves, cusps, embrasures, contacts, and contours.
- ☐ Final Occlusion Check. Confirm centric, lateral, and protrusive contacts are appropriate for the case.
- ☐ Final Esthetic Check. Evaluate the restoration from multiple views to confirm natural form, balance, and harmony.
- ☐ Ready for Production Approval. Confirm the design is complete, reviewed, and ready for milling, printing, or manufacturing.